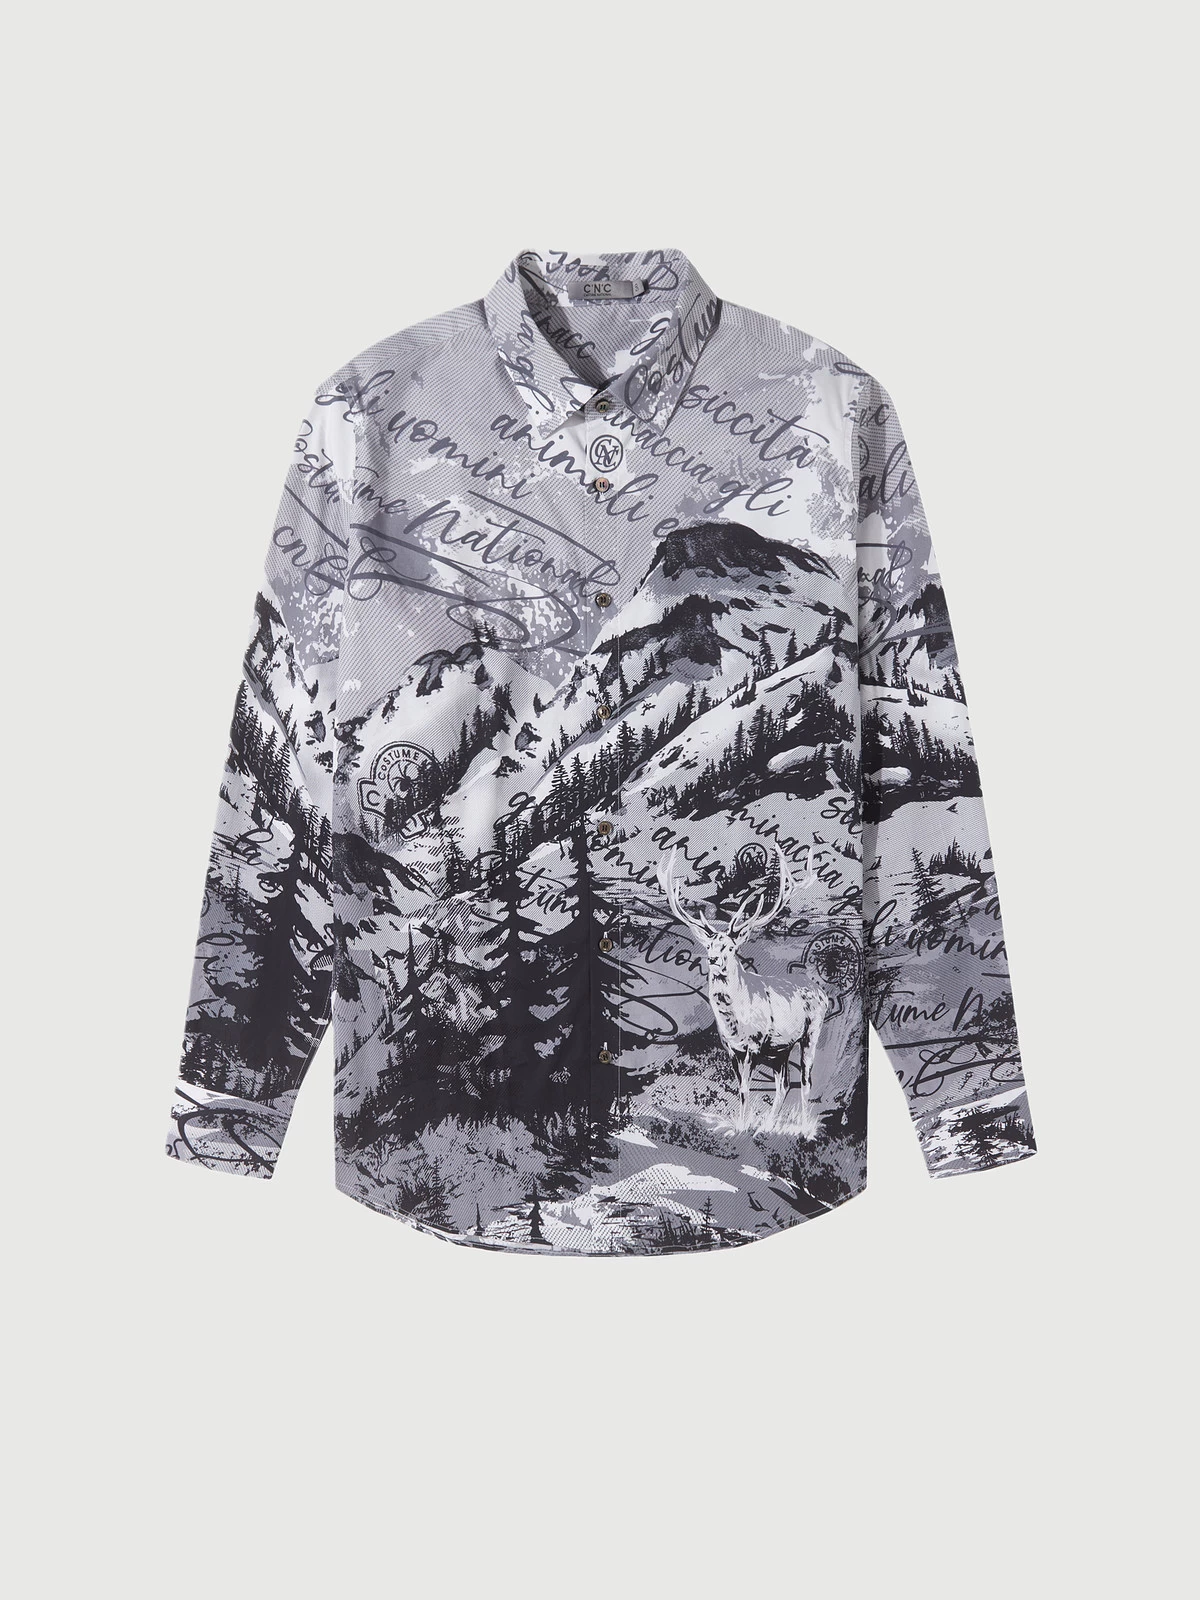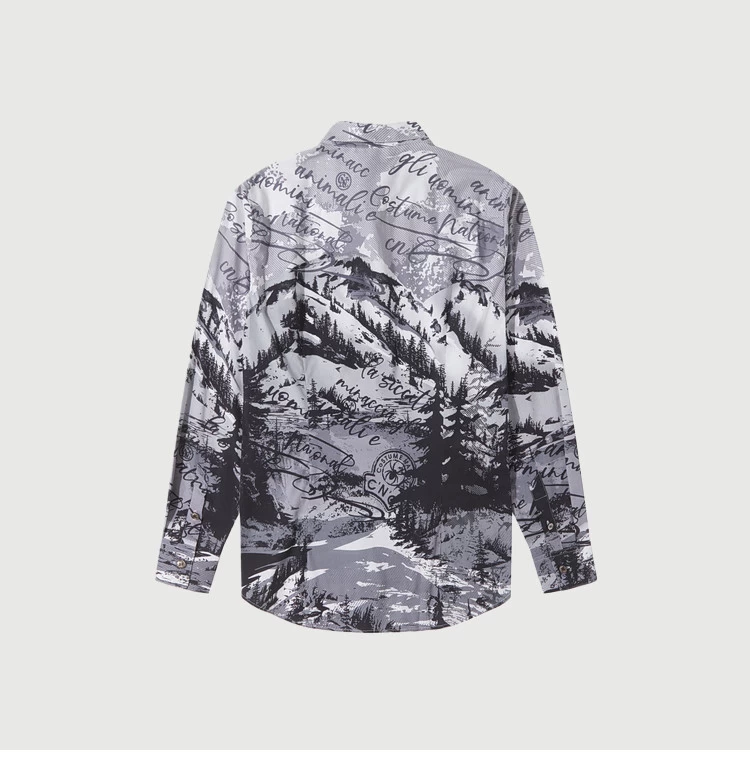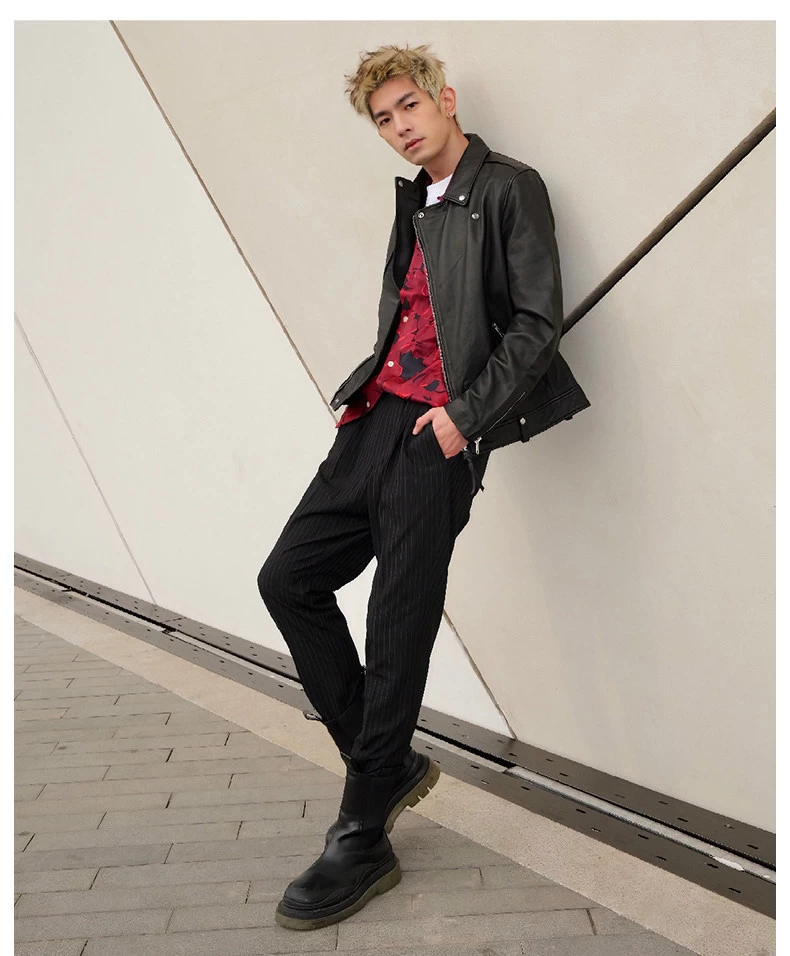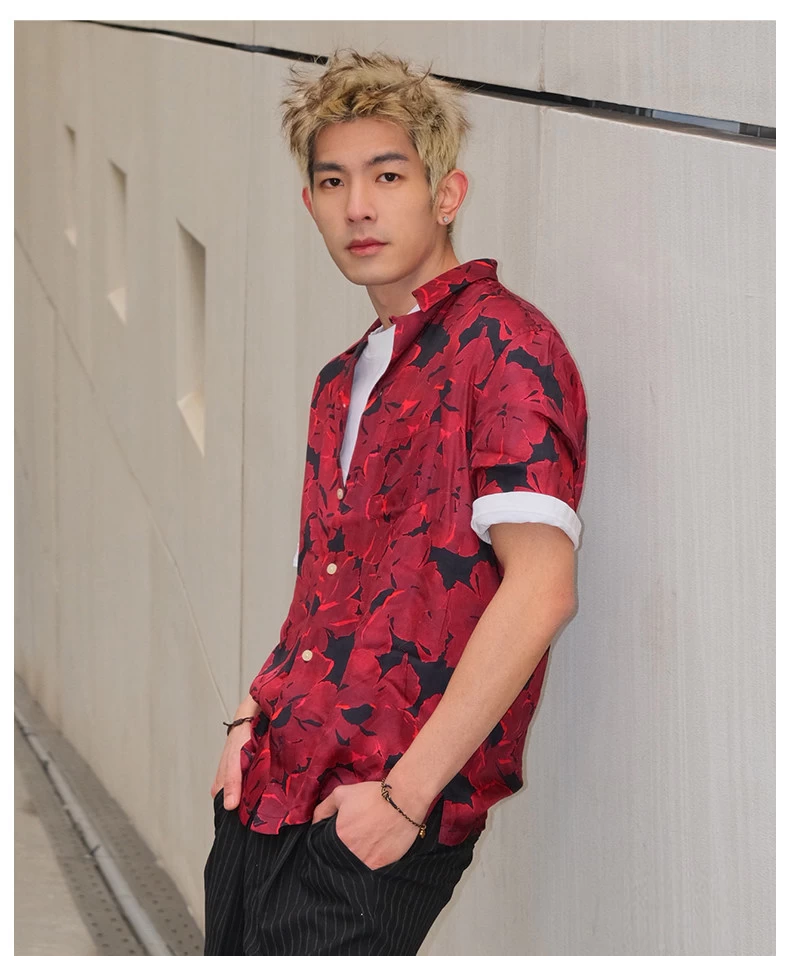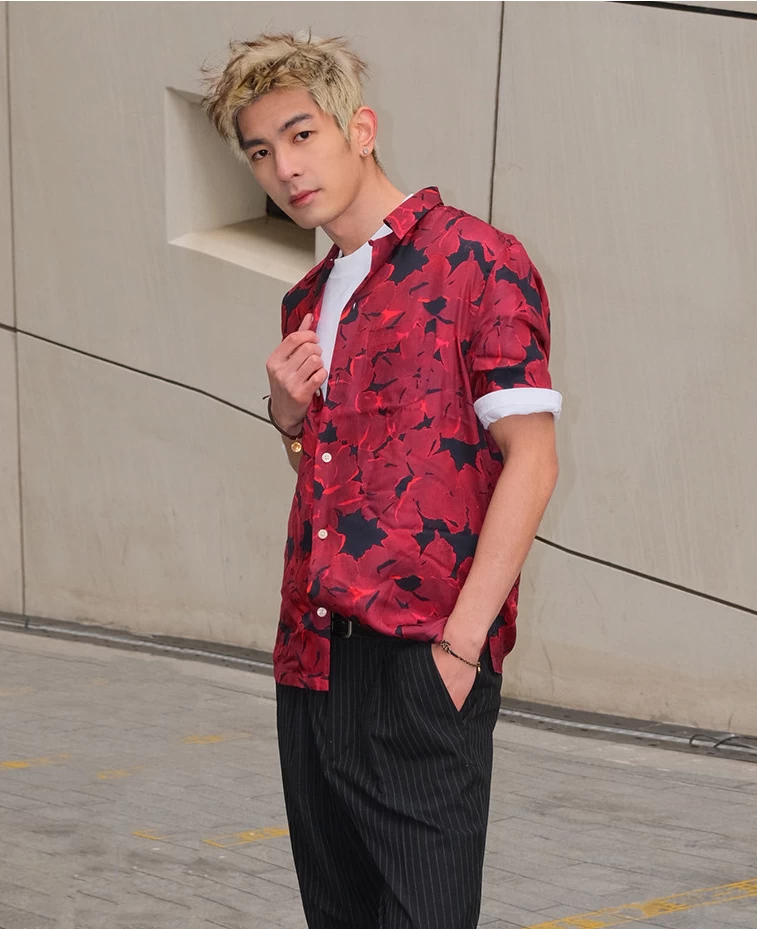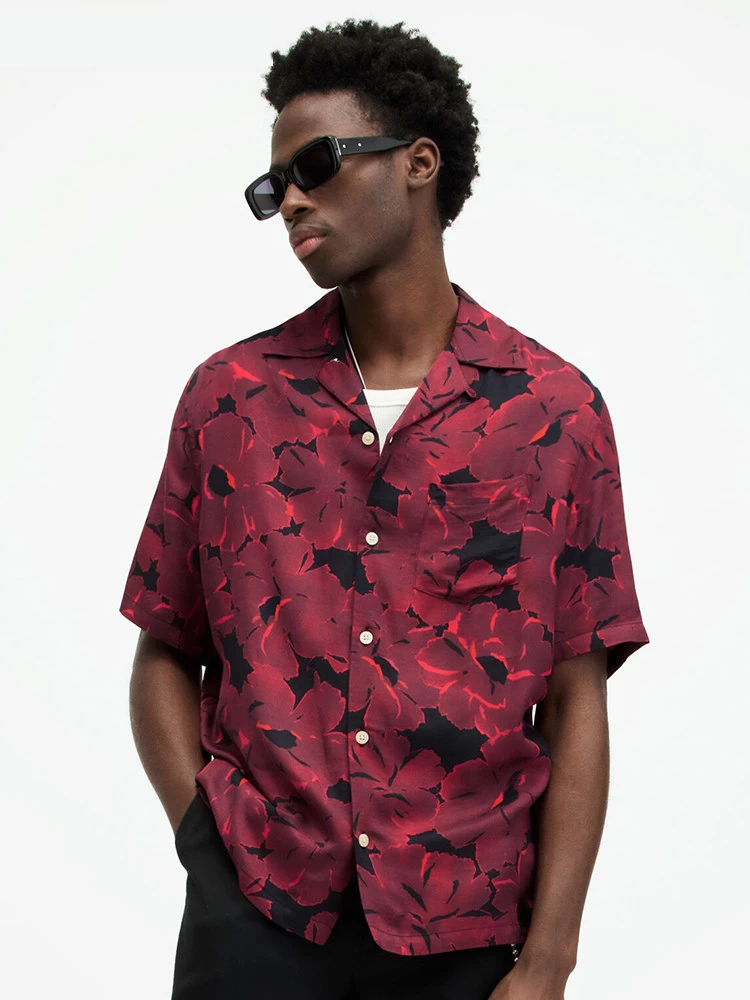
Going private label on shirts is the step where a brand stops reselling someone else's product and starts owning its own. It is also the step where most first-time programmes hit delays, because the work that matters happens before a single panel is cut: defining the spec, locking the fit, and agreeing who supplies what. This guide walks the whole chain in the order it actually happens.
1. What Makes Shirts Different From Other Private Label Categories
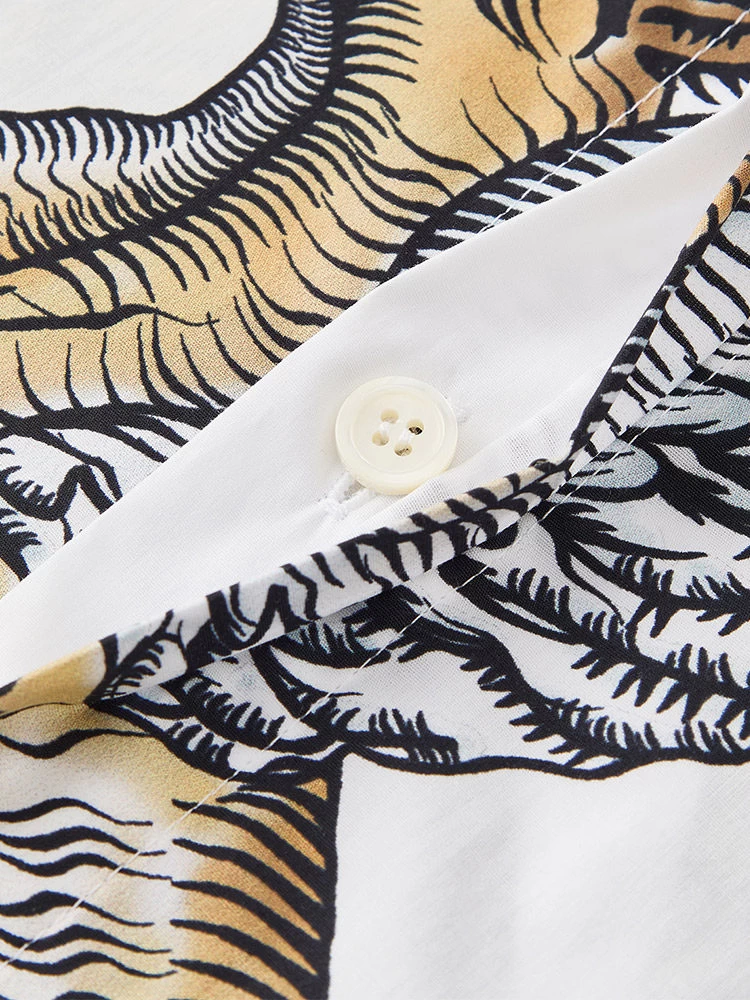
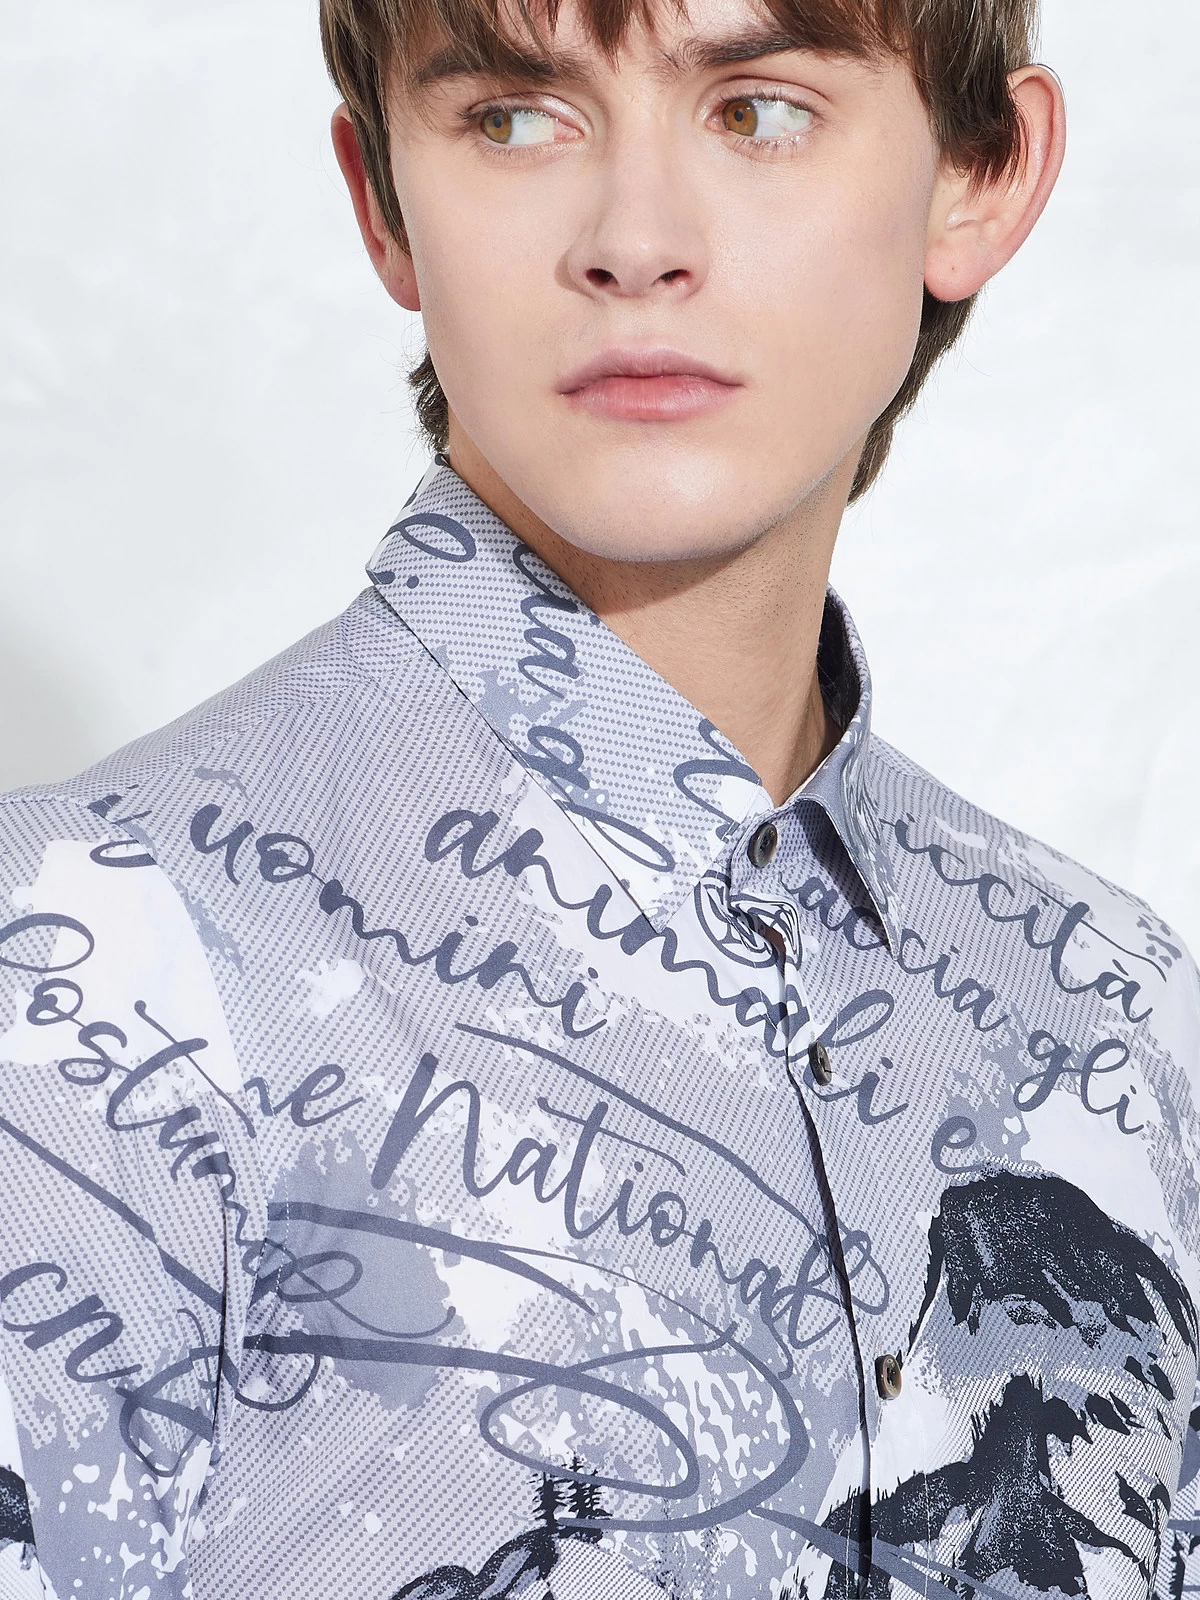
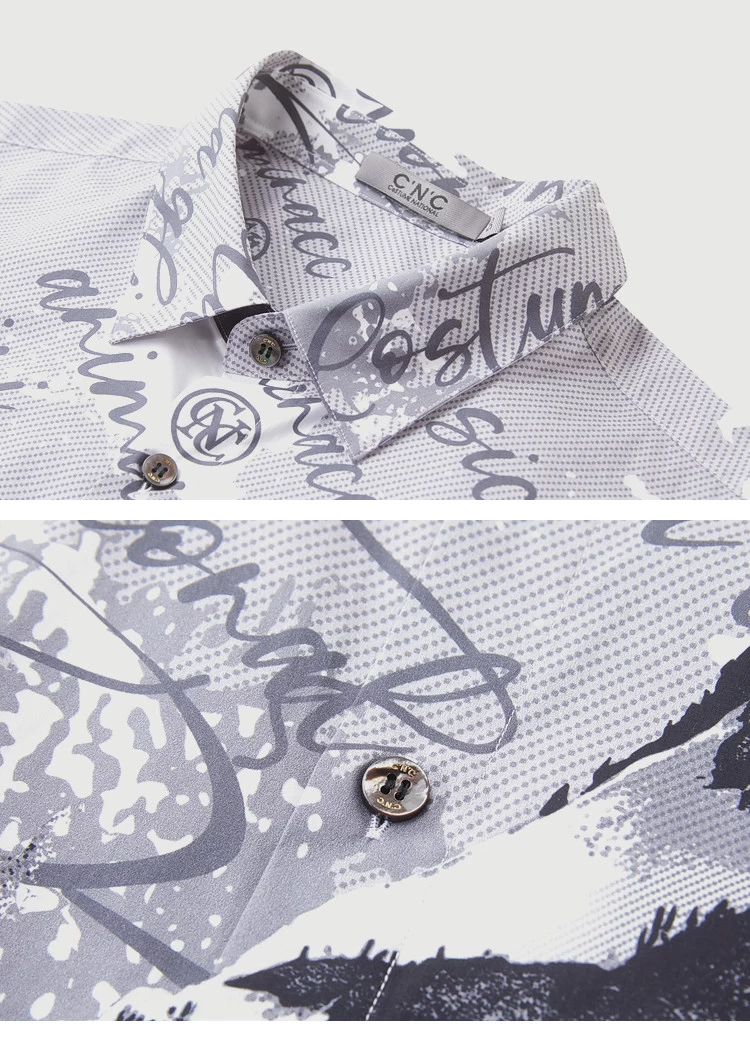
A shirt is a deceptively technical garment. It is constructed from many separate panels — front, back, yoke, collar, collar band, cuffs, placket, sleeves — and every one of them is cut from a woven fabric that has almost no stretch to hide small errors. Tolerance for a collar that sits half a centimetre wrong is far tighter than on a t-shirt, because a shirt is worn with the collar and cuffs framing the face and hands: the two places a customer looks first.
That has a practical consequence for private label work. On a shirt programme, fit, collar construction and interlining choice do more for perceived quality than any label or hangtag you attach. Get those three right and the brand reads as premium; get them wrong and the packaging will not save it.
2. Step One: Write a Tech Pack That a Factory Can Actually Use
The tech pack is the contract. A vague one guarantees a vague sample. At minimum it needs to define:
- Measurement points and target values — chest, waist, shoulder, sleeve length, collar circumference, cuff height. Give actual numbers with a tolerance, not a size letter.
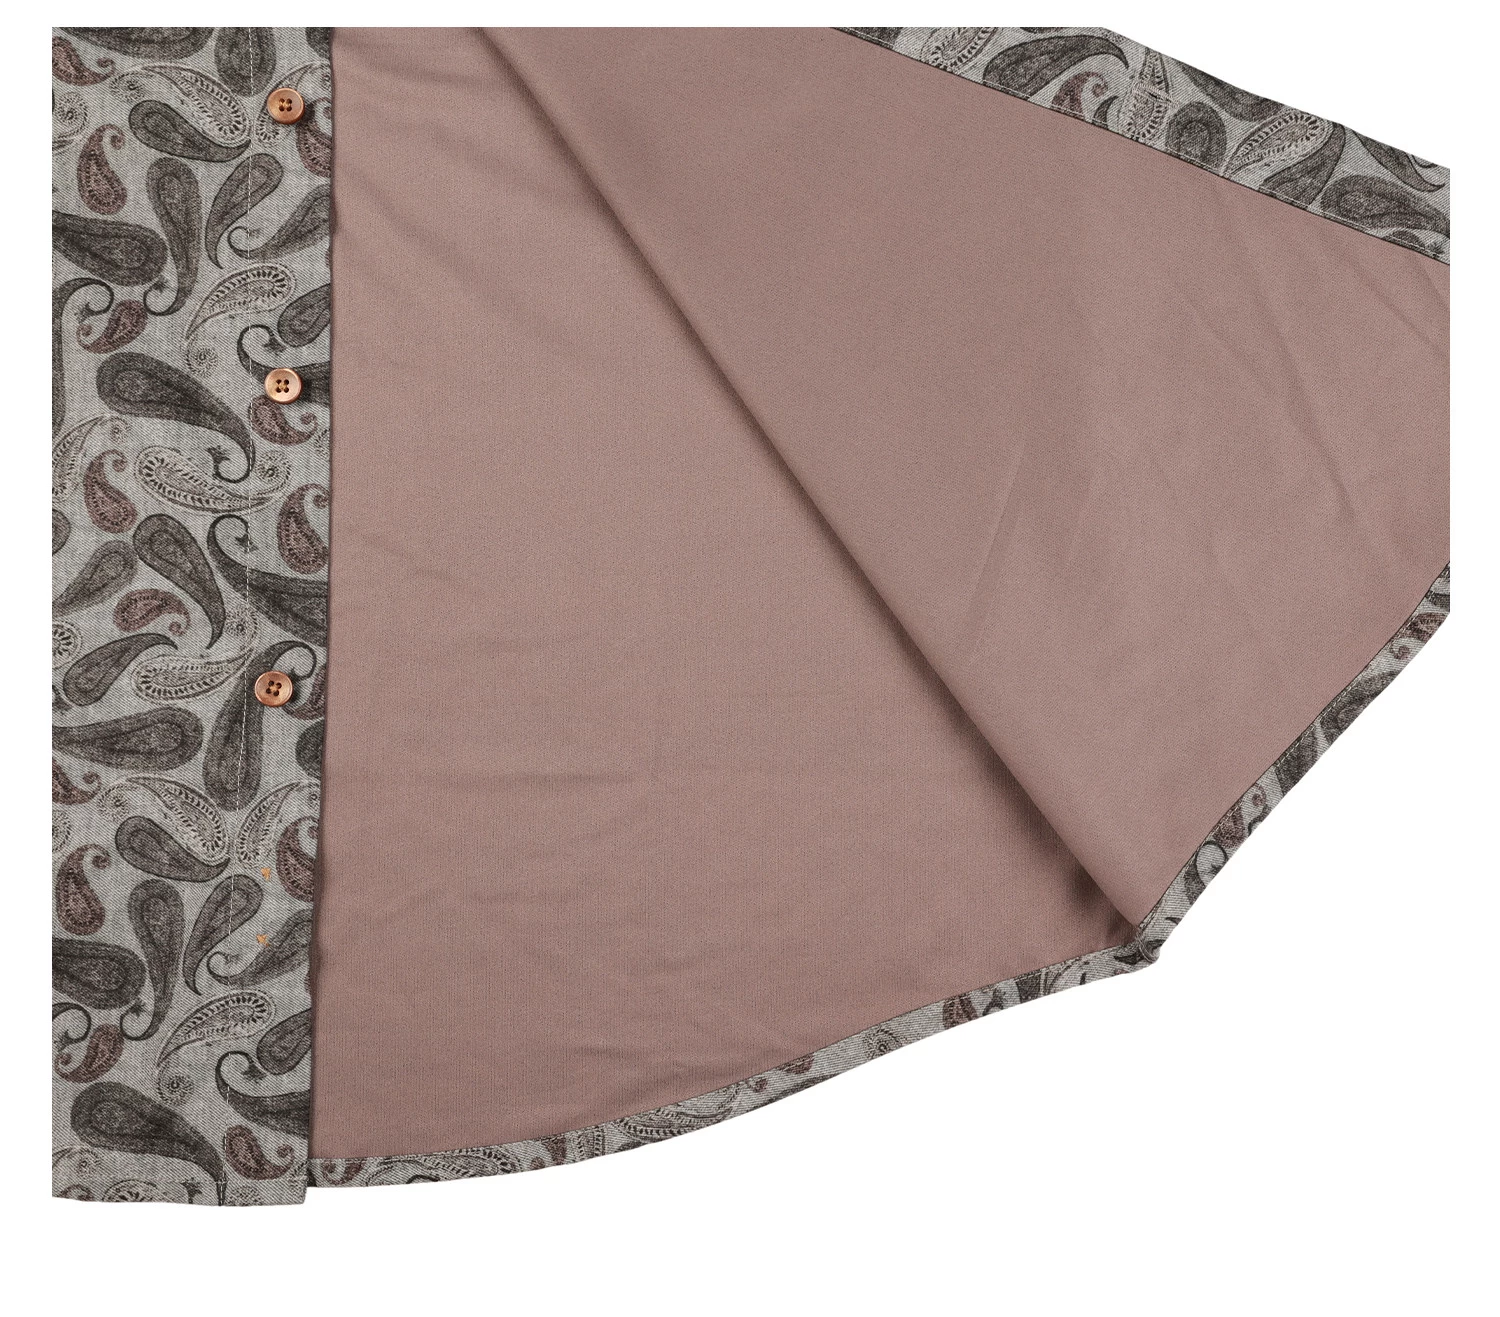
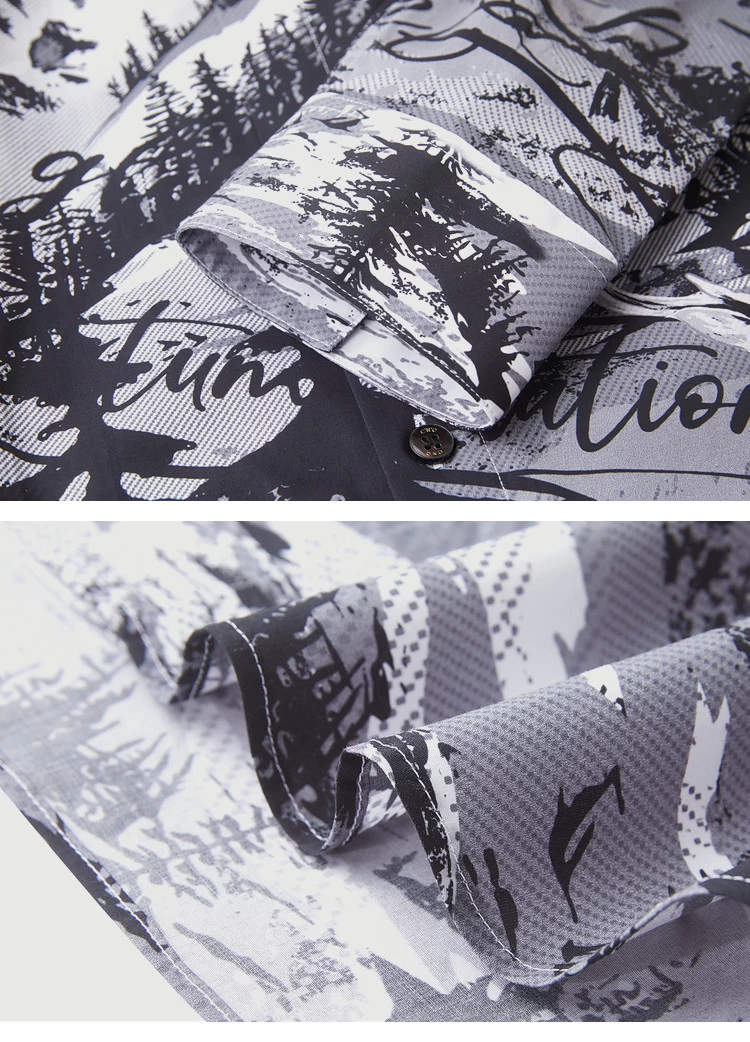
- Construction details — collar style (cutaway, semi-spread, button-down), collar interlining weight, cuff type, yoke construction (single, split, or pleated back), placket width, number and spacing of buttons, stitch density.
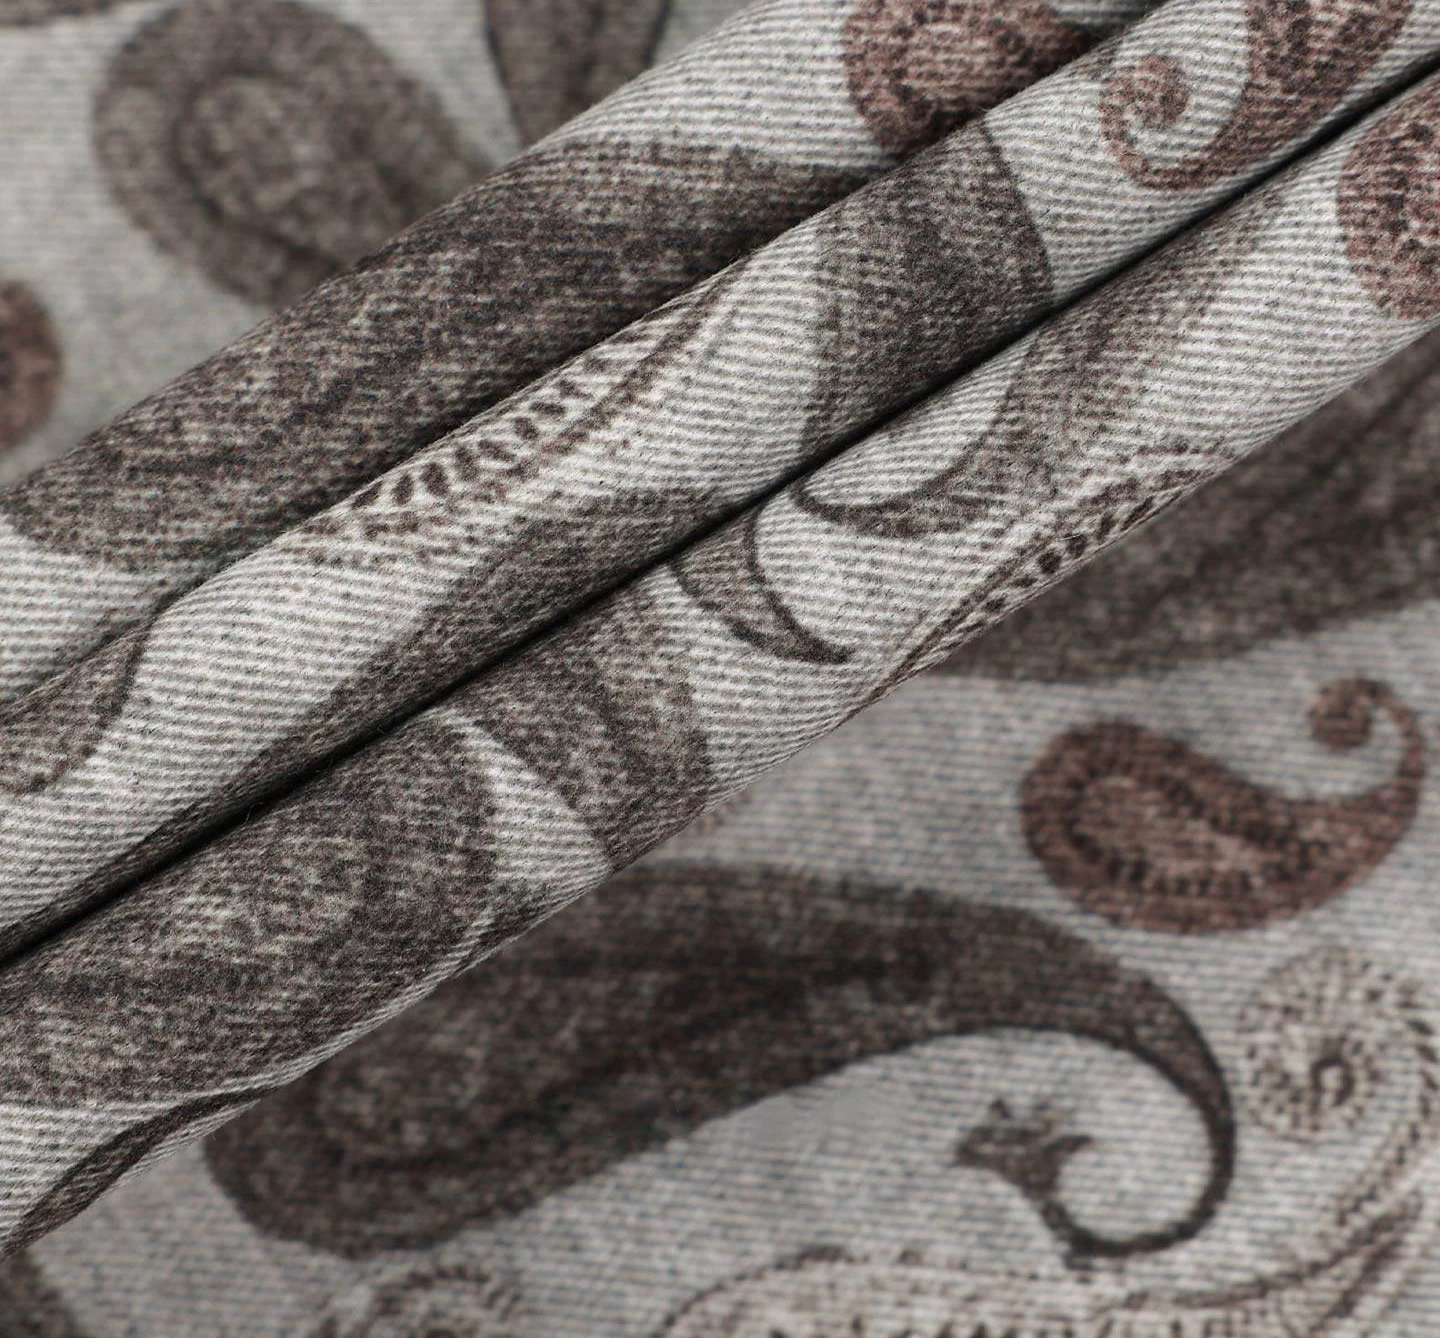
- Fabric specification — composition, yarn count, weave, weight, and colour reference. "Cotton poplin" is not a specification; "100% combed cotton, 80S yarn, poplin weave, 120 gsm, colour matched to Pantone X" is.
- Trims and findings — buttons, thread colour and ticket number, zippers if any, fusible interlining grade, labels and their placement.
- Finish and packaging — wash or softening treatment, folding standard, polybag, hangtag and barcode requirements.
If you do not have a tech pack yet, a manufacturer with in-house development can help you build one from a reference garment or a competitor sample. That is a normal starting point, not a weakness — but the finished spec must exist in writing before production is quoted.
3. Step Two: Sampling and the Fit Approval Loop
Expect two to three sampling rounds on a first programme. The first round proves the pattern and the silhouette. It is normal for it to come back wrong in some way; the point is to make the corrections precise, not to start over.
When you evaluate a sample, work in this order:
- Try it on a real body matching your target customer, not on a mannequin. Mannequins hide shoulder slope and back-length problems.
- Measure against the tech pack and mark every point that is out of tolerance, with the direction and amount of correction.
- Check the collar under a jacket — the collar is where cheap interlining is exposed.
- Wash it once as the end customer would. Shrinkage figures only mean something after a wash, and cotton shrinks differently from bamboo blends.
Once the fit is approved on the base size, grading across the size range is a separate sign-off. Approve the base size and the graded set together; approving them separately is how a programme ends up with a size M that fits and an XL that does not.
4. Step Three: Fabric Sourcing, and Why It Drives the Timeline
Fabric is usually the longest lead item in a shirt programme, and the choice of who supplies it changes everything downstream.
- Manufacturer-supplied fabric: faster and simpler. You choose from the factory's existing fabric library, which shortens development and removes the risk of a fabric failing the factory's own cutting and finishing process. The trade-off is that the fabric is not exclusive to you.
- Brand-supplied fabric: gives you a proprietary hand-feel and colour, but you carry the fabric lead time, the minimum order quantity from the mill, and the risk of a shade or weight deviation discovered only at the cutting table.
For a first private label run, working from the factory's fabric library is almost always the lower-risk path. Where a factory runs its own fabric development, it can also adjust an existing quality toward your target hand-feel rather than sending you to a third-party mill — a meaningful shortcut when you are trying to hit a delivery date.
5. Step Four: Production, and the Checkpoints That Actually Matter
Once bulk is released, three checkpoints decide whether the shipment matches the approved sample:
- Fabric inspection before cutting — shade consistency across rolls, defects, and width. Problems caught here cost minutes; the same problem found after cutting costs the whole run.
- In-line inspection during sewing — checking collar symmetry, sleeve setting and placket alignment at the machine, not at the end of the line.
- Final audit before packing — measurement against the approved graded spec, stitch and trim checks, and a full count against the order.
Ask for the inspection record with the shipment. A supplier who inspects properly already has the data; one who cannot produce it is telling you something.
6. A Realistic Timeline for a First Programme
Timelines quoted without the sampling rounds are fiction. A sensible plan for a first private label shirt run is:
- Tech pack finalisation and fabric selection: the part you control, and the part most often underestimated
- First sample round, review, and correction
- Second sample, fit and grading approval
- Bulk fabric procurement and inspection
- Cutting, sewing, finishing, and final audit
The largest single variable is never the sewing — it is how long sampling and fabric take. Compress those by bringing a factory in early instead of arriving with a finished spec and expecting production to start the same month.
7. Working With an Integrated Shirt Manufacturer
SEEWEED operates as an integrated shirt and knitwear manufacturer, combining fabric development, pattern making, sampling and bulk production under one roof. For private label programmes, that matters in three concrete ways:
- Fabric and garment development sit with the same team, so a hand-feel target can be met by adjusting a quality rather than by sourcing it externally.
- Sampling feedback loops are short, which is what actually compresses the timeline on a first run.
- Spec, fabric and inspection records stay with one supplier, so accountability for the finished shirt is not split across parties.
Conclusion
A private label shirt programme succeeds on documentation and fit approval, not on good intentions. Write a spec with numbers in it, budget for two sampling rounds, decide early who supplies the fabric, and agree on inspection checkpoints before bulk is released. Do those four things and the rest of the programme is mostly execution.
Ready to develop your own shirt line? Share your reference garment, target hand-feel and required size range, and our team will come back with a fabric suggestion, a sampling plan and a quotation.